The Complete User Guide
From your purchase email to using NEXORA on every device.
1. After you buy — finding your license key
When you complete checkout on Payhip, two things happen automatically:
- Payhip shows your license key on the confirmation page right after payment.
- Payhip emails the same key to the address you used at checkout.
Your license key looks like this:
ABCDE-FGHIJ-KLMNO-PQRST
It is 20 characters in four groups of five, separated by dashes.
2. Activating NEXORA on your first device
Open NEXORA in your web browser. The first screen you see is the activation screen.

Step by step
- Open the email from Payhip and copy your full license key (all 20 characters, with the dashes).
- On the activation screen, click inside the License key box.
- Paste the key. NEXORA will format it for you as you go.
- Click Activate.
If activation succeeds, NEXORA remembers this device and you won't see this screen again here. One license activates up to 3 devices — you can activate later on a phone, tablet, or another computer using the same key.
Common errors
- License key not found — double-check for typos. The key is 20 characters, not 16.
- Already activated on 3 devices — go to one of those devices, open Settings → License → Deactivate this device, then try here again.
- Couldn't reach the license server — check your internet connection and try once more.
3. The first run — onboarding
Right after activation, NEXORA walks you through three short questions:
- Your name — used in the friendly greeting on the dashboard.
- The current year — pre-filled. You almost never need to change it.
- Which day starts your week — Monday or Sunday. You can change this later in Settings.
Click Enter NEXORA on the last step. You're in.
4. A tour of the app

- Left side — the sidebar. Every section of NEXORA is here, grouped under Plan, Manage, Life, Finance, Collections, and System.
- Top — search and settings. The search box finds tasks, events, notes, contacts, and goals. The gear icon opens Settings.
- Center — the page you're on. The Dashboard shows today's focus, today's tasks and events, and the next seven days at a glance.
5. Day-to-day use
Tasks
Open Tasks in the sidebar. Click + New task, give it a title, a due date, and a priority. To mark a task done, click the checkbox. To edit or delete, click Edit in its row.

Events
Events are things on a specific day at a specific time — meetings, appointments, classes. Add them from the Events page or from the Daily view.
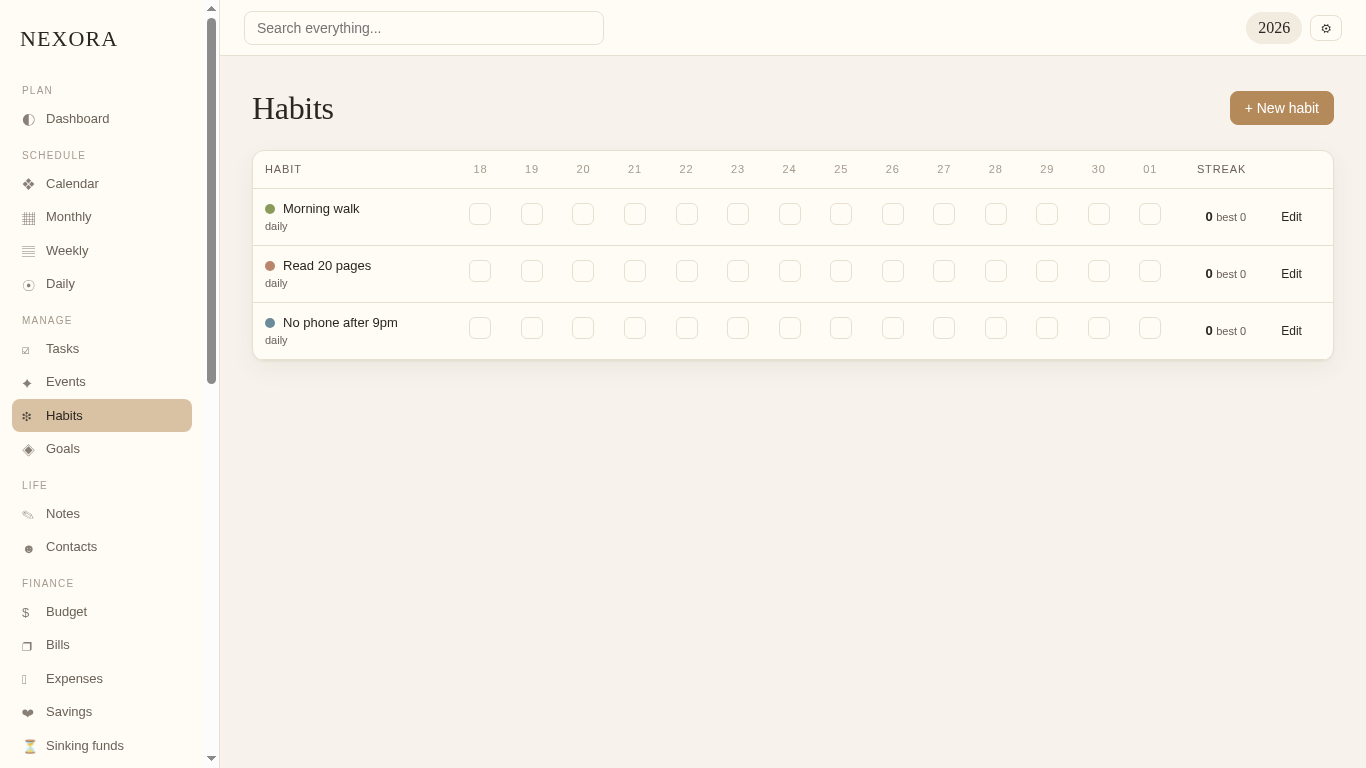
Habits
Open Habits, click + New habit, name it, and pick a frequency. Each day you do it, click that day's box on the streak grid. NEXORA tracks your current and best streak.
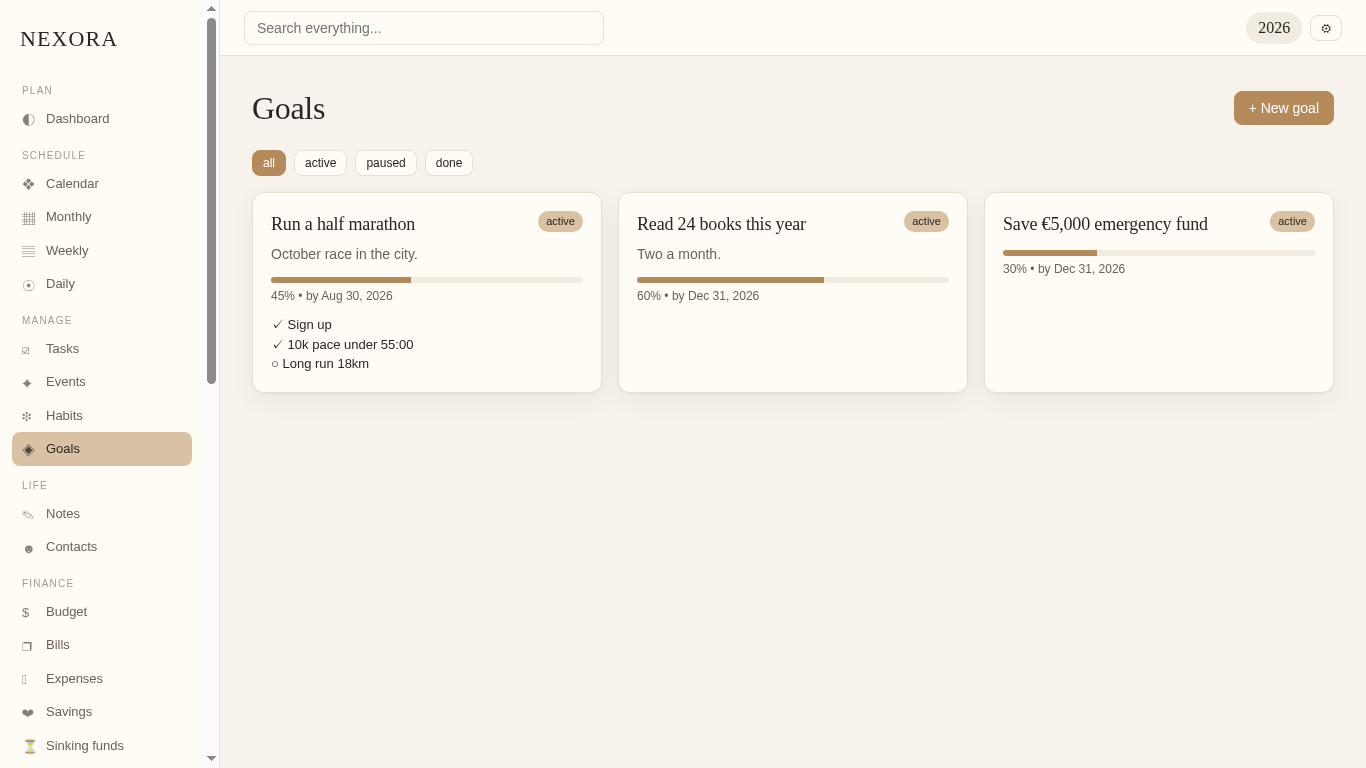
Goals
Each goal has a description, a deadline, a status, a progress slider, and optional milestones you tick off as you reach them.
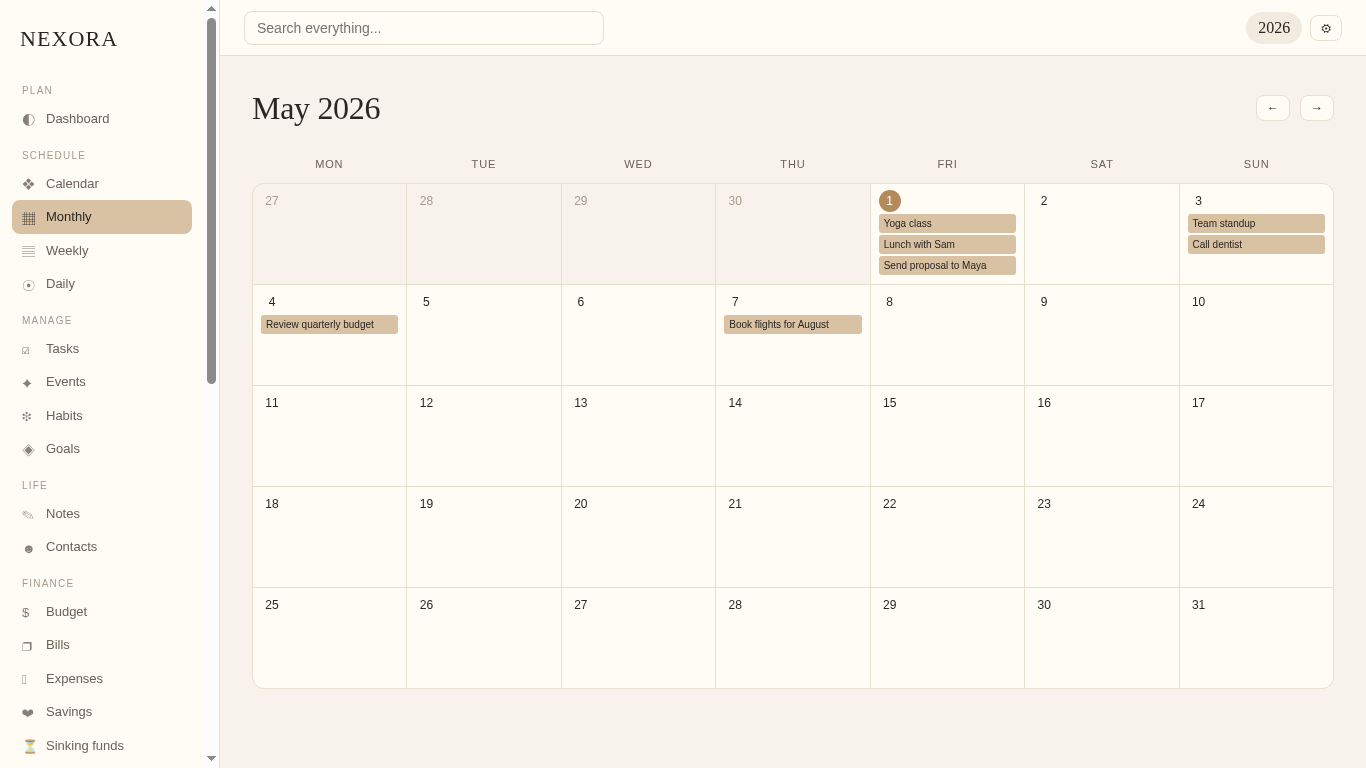
Calendar views
Tasks and events show up automatically on every calendar view. Click any day to add a task or event for that date.

6. Notes, contacts, and the rest
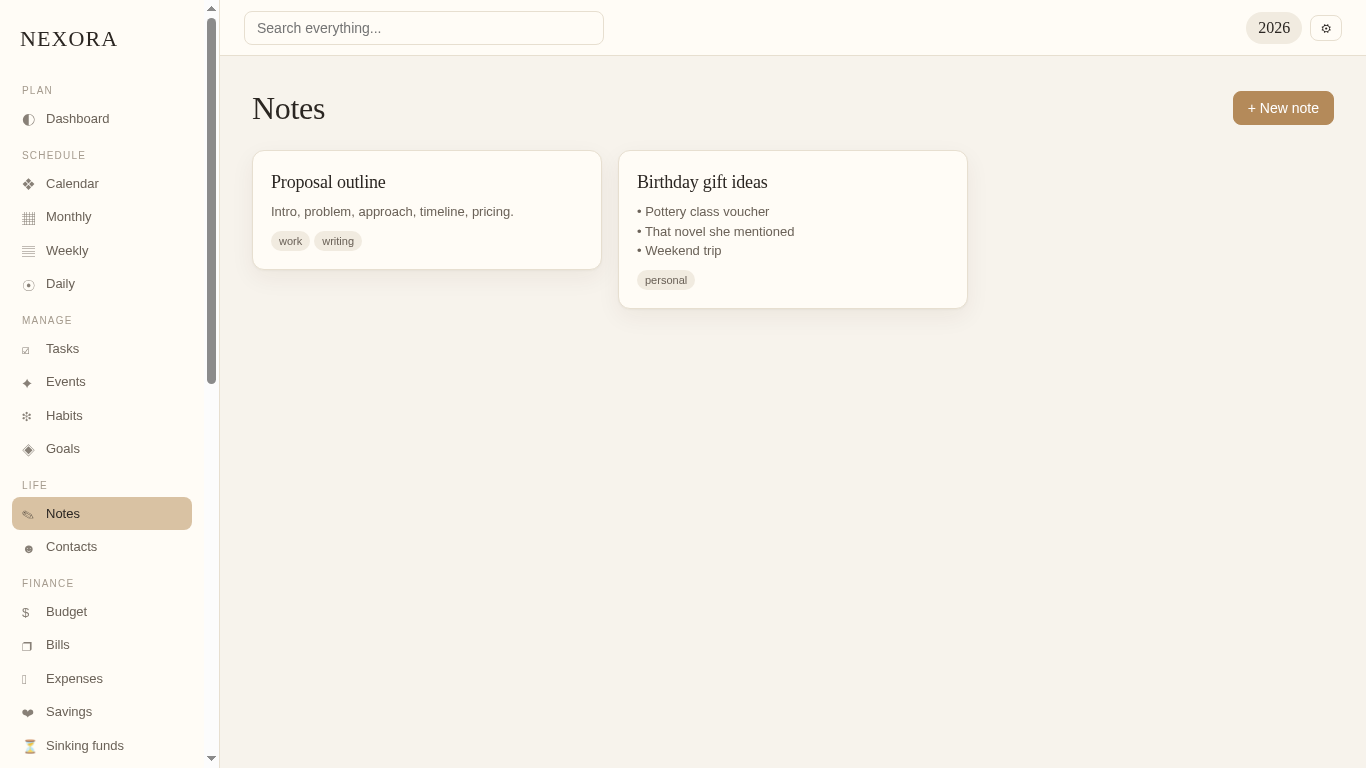
Notes: title, body, and optional tags (comma-separated).
Contacts: name, relationship, email, phone, birthday (MM-DD), address, and notes. Birthdays are surfaced on the calendar.
Lifestyle & Collections: NEXORA also includes Mood, Hydration, Gratitude, Routines, Meals, Recipes, Challenges, Books, Movies, Series, Bucket list, Wishlist, Shopping lists, Quotes, and Passwords. They all work the same way: open the section, click + New, fill in the fields, save.
7. Money — Budget, Bills, Expenses, Savings
- Budget — set monthly income and break it into categories with planned and spent amounts.
- Bills — recurring bills with a due day and a paid checkbox.
- Expenses — log individual purchases with date, category, amount, and note.
- Savings — saving goals with a target, current amount, and deadline.
- Sinking funds — set aside small amounts each month for big future expenses.

8. Settings, theme, and your profile
Click the gear icon in the top-right corner to open Settings.
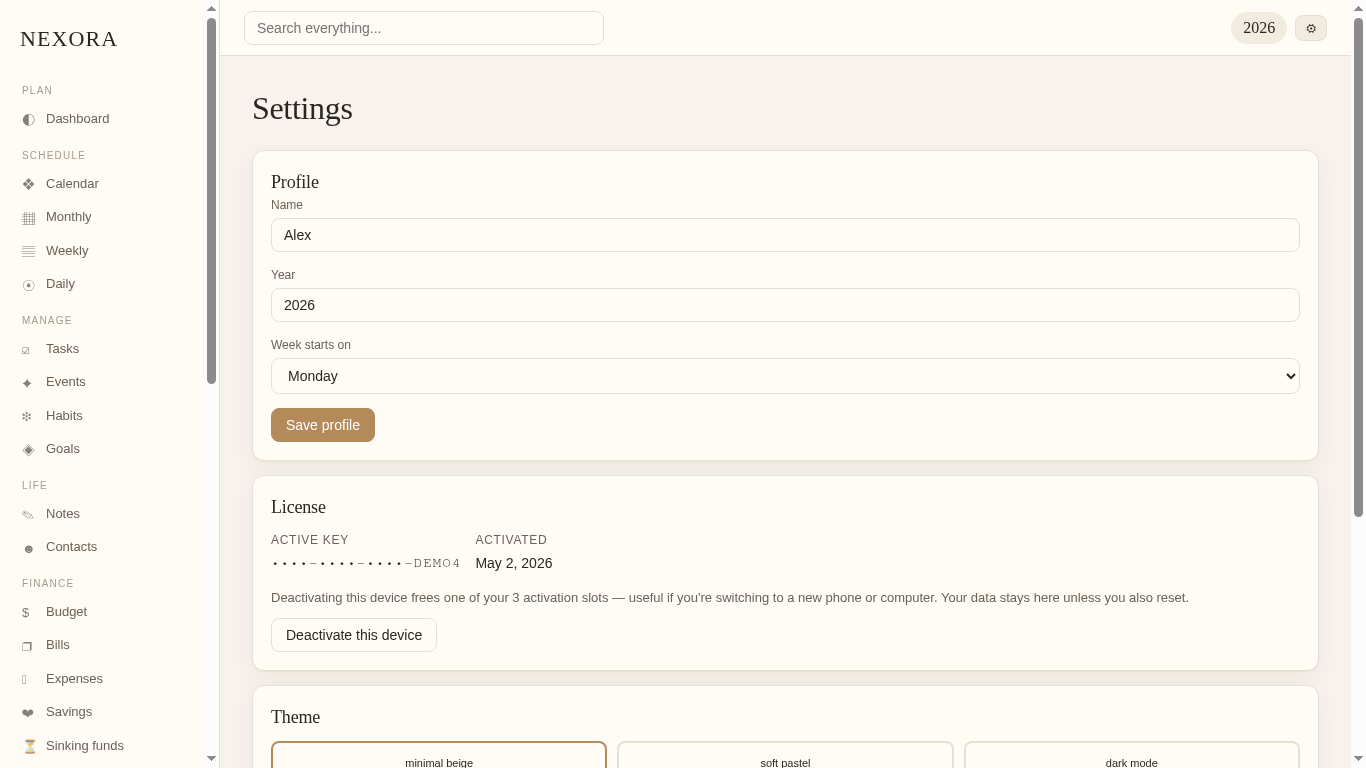
- Profile — change your name, the year shown in the header, and the day your week starts on.
- License — see your active key, the activation date, and a button to deactivate this device.
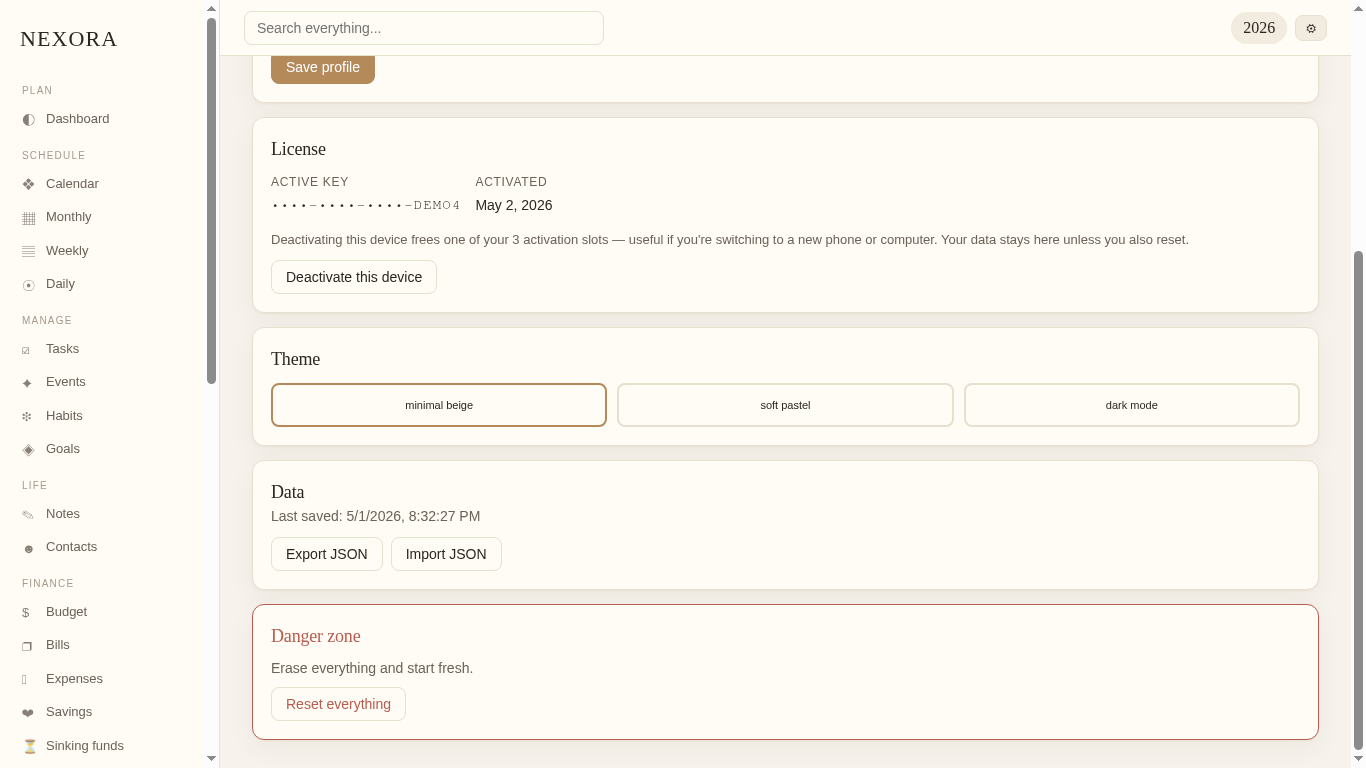
- Theme — choose Minimal Beige, Soft Pastel, or Dark Mode.
9. Backing up your data — Export JSON
NEXORA stores everything on your device, in your browser. There is no cloud account. That means your data is private — and it also means you should back it up.
How to back up
- Open Settings (gear icon, top right).
- Scroll down to the Data section.
- Click Export JSON.
- Your browser downloads a file named nexora-backup-YYYY-MM-DD.json.
- Save it somewhere safe — Documents, iCloud Drive, Google Drive, Dropbox, or email it to yourself.
10. Using NEXORA across devices — Import JSON
NEXORA does not sync automatically between devices. To carry your data from one device to another, you export on the first device and import on the second.
The whole flow
- On Device A: Settings → Data → Export JSON. Save the file.
- Send the file to Device B: email, AirDrop, cloud drive, or a USB stick.
- On Device B: open NEXORA, activate it with your license key if you haven't already, then go to Settings → Data → Import JSON.
- Pick the file. NEXORA asks you to confirm before replacing whatever is on Device B.
- Click OK. Your tasks, habits, goals, notes, money — everything — appears on Device B.
Keeping things in sync
Pick one device as your main device — the one where you do most of your typing — and treat the others as read-mostly. When you want to update from a secondary device, export there and import on the main device, then re-export back.
11. Switching to a new phone or computer
- On the old device: Settings → Data → Export JSON.
- On the old device: Settings → License → Deactivate this device. This frees one of your three slots.
- On the new device: open NEXORA, paste your license key, click Activate.
- Finish onboarding (name, year, week start).
- Settings → Data → Import JSON, pick your backup, confirm.
- Done. Your NEXORA is exactly where you left off.
If the old device is broken or gone, skip the deactivate step — just activate on the new device. If you've used all three slots, contact support to free one up.
12. Installing NEXORA like a real app
NEXORA is a Progressive Web App — install it from your browser to your dock or home screen. No app store, no installer file.
Desktop — Chrome or Edge
Look for the install icon in the address bar (a small monitor with a down-arrow). Click it, then click Install.
Desktop — Safari (macOS 14+)
From the menu bar choose File → Add to Dock.
iPhone & iPad — Safari
Tap the Share button, scroll down, tap Add to Home Screen.
Android — Chrome
Three-dot menu → Install app.
Once installed, NEXORA works offline. You only need internet for license activation and deactivation.
13. Troubleshooting & common questions
"I lost my license key."
Sign in to your Payhip account at payhip.com with the email you used at checkout. Your purchase history shows the key.
"NEXORA only loaded 16 characters from my key."
Force-refresh the app (Cmd+Shift+R on Mac, Ctrl+Shift+R on Windows). Current versions accept the full 20-character format.
"I cleared my browser data and everything is gone."
Clearing browser data erases NEXORA. Restore from your latest backup via Settings → Data → Import JSON. (This is exactly why exports exist.)
"My license is on 3 devices and I want to use a 4th."
Open NEXORA on one of the existing 3, go to Settings → License → Deactivate this device. That frees a slot.
"Will my data ever leave my device?"
Only when you export it as a JSON file. NEXORA itself never uploads your tasks, notes, or money. The only network traffic is to the license server, for activation and deactivation only.
"Can I edit the JSON file by hand?"
Yes — it's a regular JSON file. Just keep the structure intact: if NEXORA can't recognise it, it will refuse the import.
That's it. NEXORA is yours — quiet, private, and always with you.